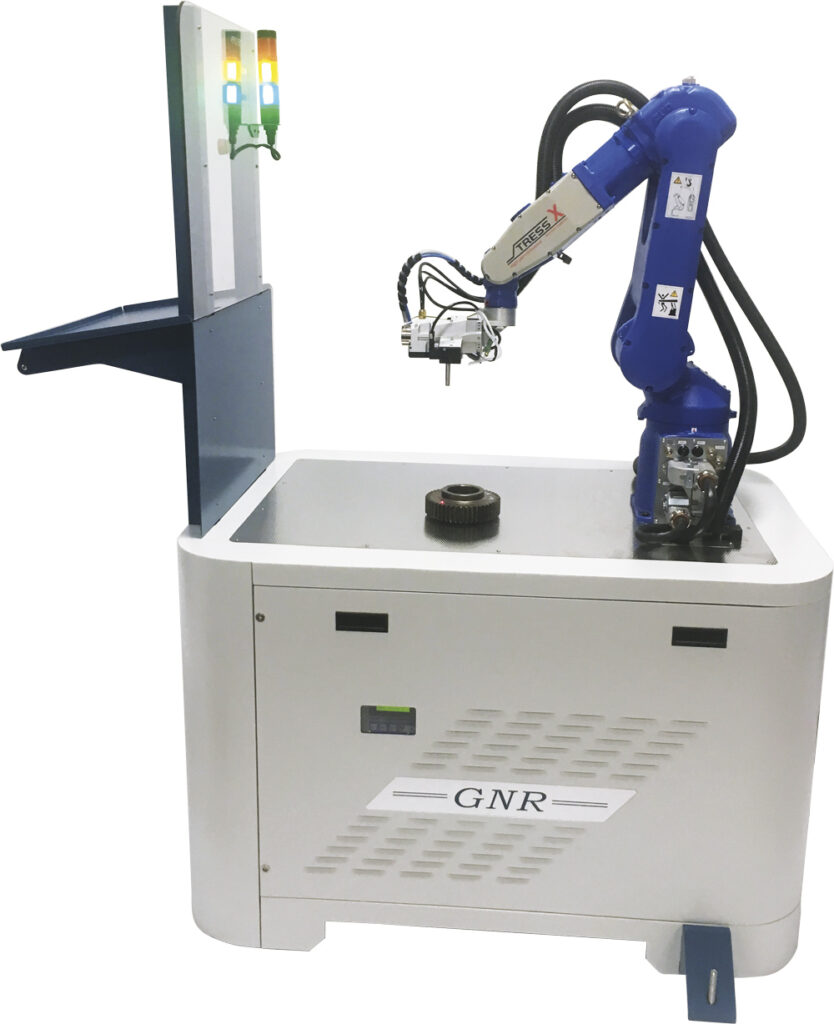
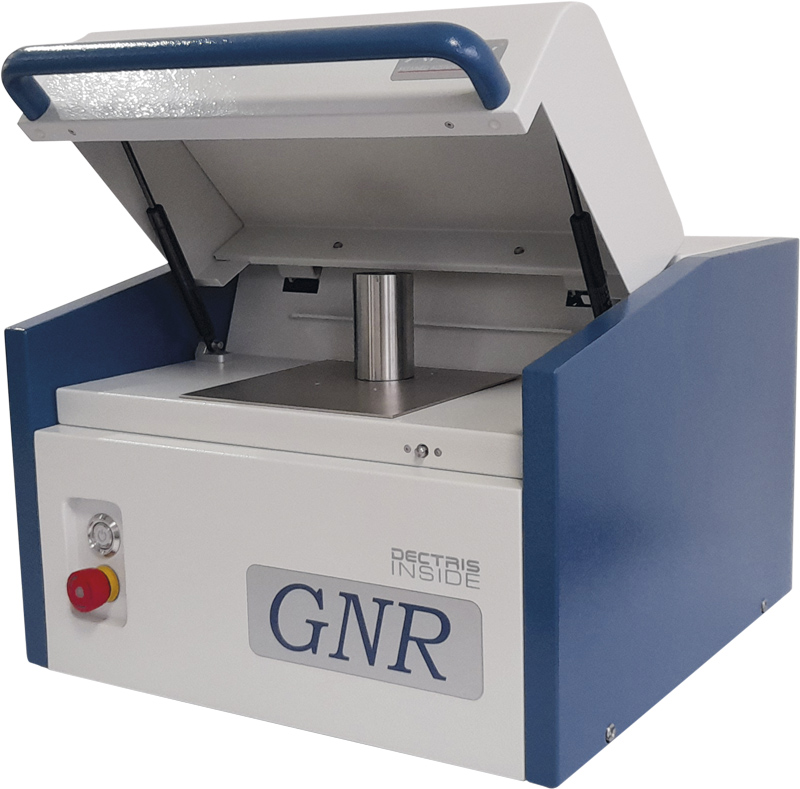
AreX D

Bechtop Retained Austenite Analyzer

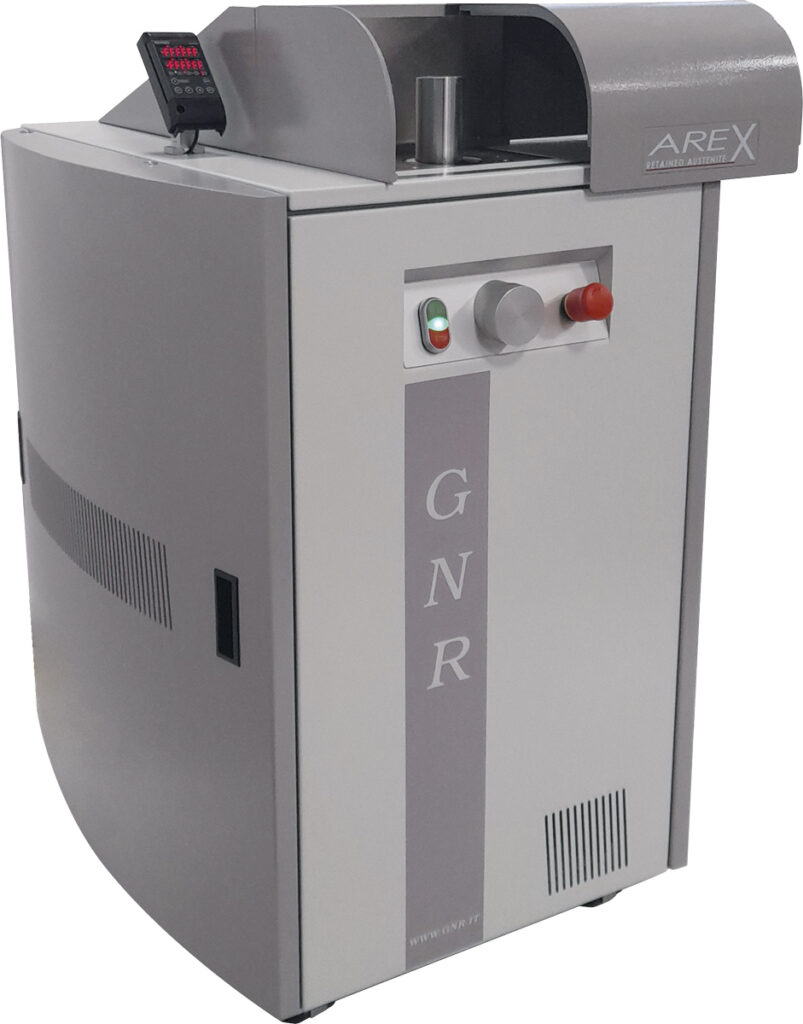
AreX D is the first benchtop diffractometer designed for the fast, accurate and easy determination of Retained Austenite in compliance with ASTM E 975-03 Standard practice for x-ray determination of Retained Austenite in steel with near random crystallographic orientation.

Category:

Application:

100%

Made in Italy

Quality control in metal

analysis using OES/RDE

Material properties control

using XRD/TXRF

World Wide

Distribution

Complete Description

Phase transformation – in critical and structural steel component – is a very sensitive  and important parameter to be evaluated since mechanical and physical properties of steels depends on phase composition.

In many industrial processes, determination of Retained Austenite is requested at very low concentration and with a great accuracy. Traditional metallographic investigation by chemical etching and optical determination of Retained Austenite is in many case ineffective due to the low accuracy and sensibility of this method.

Accurate measurements of retained austenite content is essential during the set up and control of many heat treatment processes as well as plays a great role in Additive Manufacturing processes.

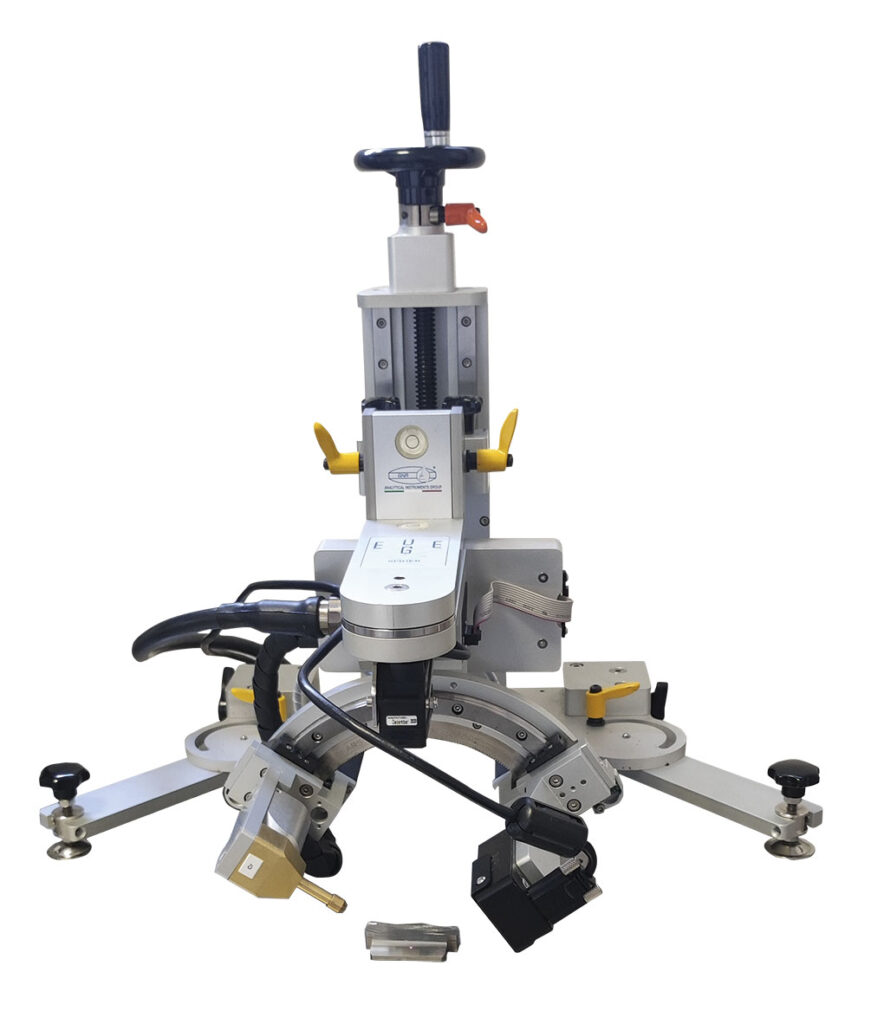
AreX Desktop is a fixed angular range X-Ray Diffractometer equipped with the most modern technical features which grant accuracy, precision, safety and easiness of use, especially designed for quantitative determination of Retained Austenite, manufatured in a desktop version.

X-Ray Diffraction (XRD) is considered the most accurate method available that can accurately determine retained austenite levels down to 0.5%. The integrated intensities of the austenite (220) and (311), and the ferrite (200) and (211) diffraction peaks are measured on the AREX diffractometer. The use of multiple diffraction peaks minimizes the effects of preferred orientation and allows interference from carbides to be detected.

AreX is the unique instrument able to guarantee compliancy with the ASTM E 975 – 03.

Thanks to AreX innovative concept, Retained Austenite volume percentage can be measured in few minutes, just placing the sample and pressing start button. Typical Measuring time is 180 seconds.
Product Applications

Quantitative determination of retained austenite content in heat-treated steels by x-ray diffraction has provided a reliable mean of controlling properties and ensuring quality.

X-Ray Diffraction is considered the most accurate method of determining the amount of retained austenite in steels.

Using “ASTM E 975-03 Standard Practice for X-ray Determination of Retained Austenite inSteel with Near Random Crystallographic Orientation” along with the AreX D, Desktop Retained Austenite issues can be easily monitored and controlled.

Technical Data

AreX D Features

  • Power 50 W
  • Air Cooled X-Ray Tube
  • Micro Focus Mo Anode X-Ray Source
  • Zr Filter
  • Angular Range 21.5° – 44.5°  2Theta
  • Linear Silicon Strip Detector
  • Video Camera for easy and precise sample alignment
  • Sample holder dimension 200W x 150D x 70H mm
  • Door interlock switch, thick steel frame and lead shield for x-ray safety protection
  • X ray safety compliant with ANSI N43.3-1993
  • Typical measuring time 180 seconds


  • Power Supply: 110/220 V   50/60 Hz
  • Dimensioni: 490 l x 550 p x 360 a mm
  • Weight: 37 kg.

Software Informations

Acquisition and Analytical SW: Austenite
Written for Windows 10 is the program designed for the control of the AreX Diffracto­metric System.
Automatic Retained Austenite quantification conform to ASTM E 975-03 Standard Practice.
Display, printout and disk storage of results.

Contact Us to request info

Fill out the form with all the required information or contact us via alternative contact methods. We will reply within 48 hours.

Do you need contacts outside Italy? Consult the list of our partners around the world to find out who to contact.

Related Products

Search
Close this search box.